
 Injectors
 Turbos
 Fuel Pumps
 Oil Pumps
 Electronic Actuators
 EGR Coolers
 Accessory Kits
 Contamination Kits

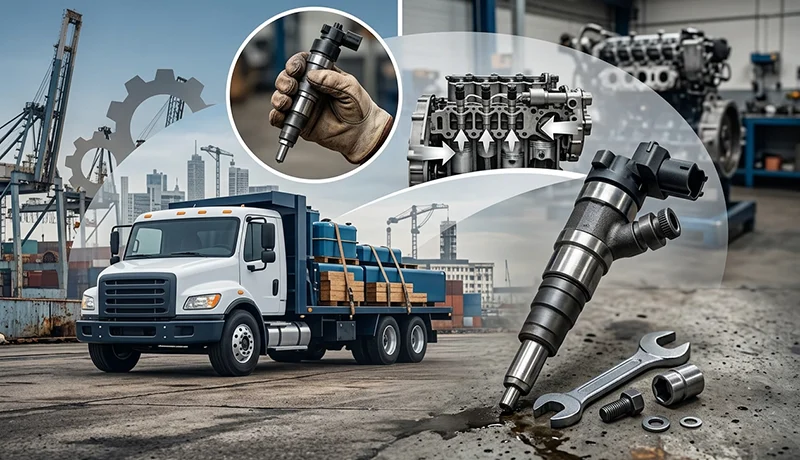
Diesel Injector Replacement Guide for Work Trucks Leave a comment
A failed injector can turn a dependable work truck into a no-start, a fuel-hungry headache, or a machine that loses power when the load gets heavy. This diesel injector replacement guide covers the job from proper diagnosis through installation and verification, with the details that protect your engine, your new parts, and your uptime.
Injector replacement is not a simple parts swap on most modern diesel platforms. Common-rail systems operate at extreme pressure, injector trim codes may need programming, and contamination from a failing fuel pump can ruin a new set of injectors before the truck leaves the shop. Get the diagnosis and preparation right first. That is how you avoid doing the same repair twice.
Confirm the Injector Is Actually the Problem
A rough idle, hard start, white smoke, fuel knock, misfire code, or low-power complaint can point toward an injector. It can also point toward an air leak, poor fuel supply, low rail pressure, wiring fault, failed sensor, compression issue, or a damaged high-pressure fuel pump. Replacing injectors based on one symptom is an expensive guess.
Start with a full scan for active and stored diagnostic trouble codes. On electronically controlled engines, pay attention to cylinder contribution, balance rates, rail-pressure actual versus commanded values, injector circuit faults, and cylinder-specific misfire information. Use the factory diagnostic procedure for the engine platform whenever possible. A Cummins, Power Stroke, Duramax, Detroit, CAT, International, Volvo, or Paccar engine may show a similar symptom but require a different test path.
A return-flow or leak-off test can help identify injectors that are bypassing too much fuel internally. On applicable systems, a cylinder cutout test can isolate a weak cylinder. If the complaint includes fuel in the oil, inspect carefully for injector leakage, damaged injector seals, or other fuel-system faults before operating the engine further. Fuel-diluted oil reduces lubrication and can cause serious engine damage.
Watch for Signs of System-Wide Contamination
One bad injector is possible. A failed high-pressure fuel pump is a different situation. If you find metallic debris in the fuel filter, fuel rail, pressure-regulating components, or injector inlet screens, do not install replacement injectors and call it finished.
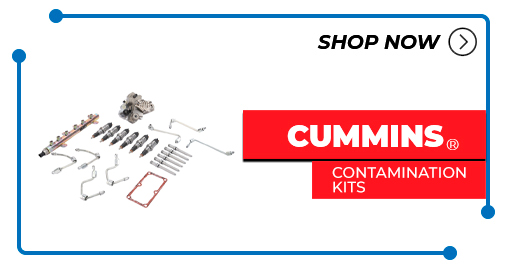
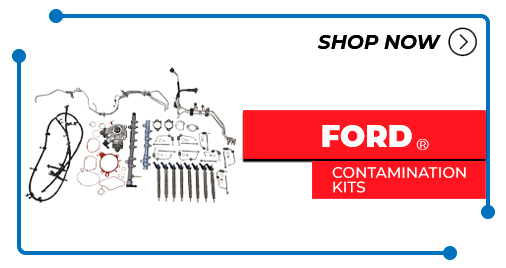
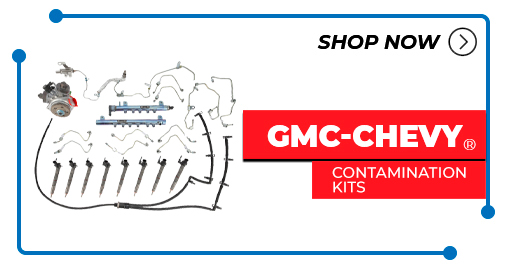
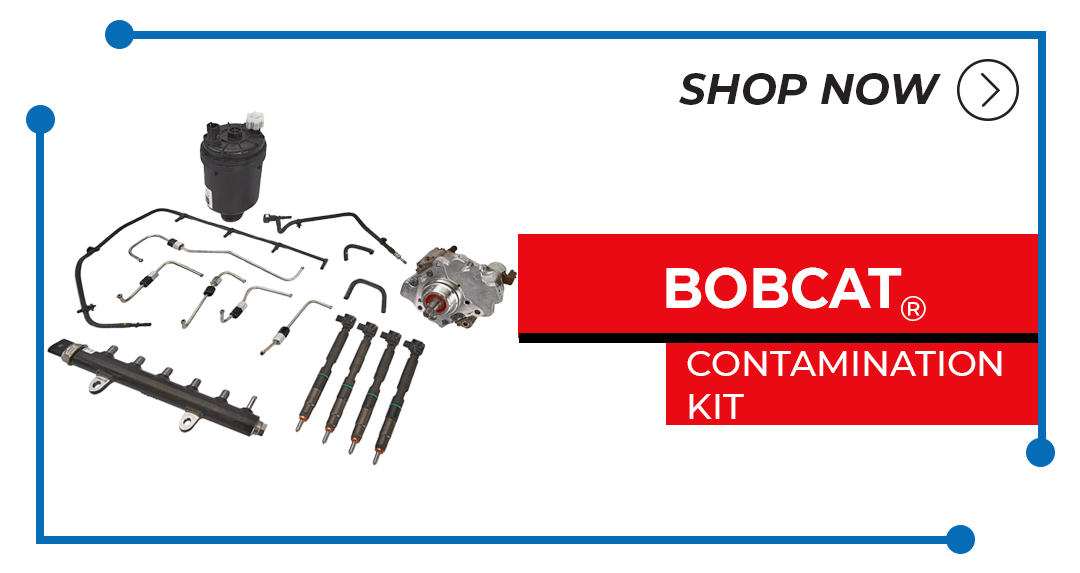
Metal contamination can travel through the complete high-pressure system. Depending on the manufacturer procedure and severity of the failure, the correct repair may require replacing or thoroughly servicing the pump, injectors, rails, lines, filters, tank components, and low-pressure supply-side parts. A contamination kit is often the better financial decision than risking another complete failure.
Match the Correct Replacement Injector
Diesel injectors are engine-specific, fuel-system-specific, and sometimes calibration-specific. Match the part by engine serial number, VIN when applicable, OE part number, injector number, and emissions configuration. Do not assume two injectors that look alike will perform the same way.
This matters especially on engines with multiple production changes. Connector styles, nozzle flow, solenoid or piezo operation, spray pattern, and calibration data can vary within the same truck model year. The wrong injector may cause a no-start, rough running, excessive smoke, fault codes, piston damage, or emissions-system issues.
Choose the replacement level that fits the repair. OEM injectors are often the direct choice for strict factory specification requirements. Quality remanufactured injectors can be a cost-effective option when they are rebuilt with tested components, calibrated correctly, and backed by warranty support. For fleet and commercial repair, the cheapest listing is rarely the lowest-cost repair if the injector has poor calibration, questionable components, or no meaningful testing process.
American Diesel Parts supplies remanufactured, rebuilt, OEM, and premium replacement injectors for major diesel applications, including programmed options where the platform requires them. Confirm availability and exact fitment before the truck is torn down, particularly when downtime is costing the customer money.
New Seals and Hardware Are Not Optional Extras
Plan to replace the injector sealing components required for the engine. This may include copper sealing washers, combustion seals, O-rings, hold-down bolts, injector tubes, high-pressure lines, return-line seals, and valve cover or injector harness gaskets.
Many manufacturers specify one-time-use fasteners and high-pressure lines. Reusing them may lead to combustion leaks, fuel leaks, improper clamp load, or line failure. Follow the service information for your exact engine, including torque values, torque-angle procedures, cleanliness requirements, and replacement hardware instructions.
Prepare the Truck Before Removing Anything
A clean work area is part of the repair, not a cosmetic preference. Dirt entering an open common-rail fuel system can score precision components or plug an injector. Wash the engine around the injector area before disassembly, then use clean caps and plugs on every opened fuel connection.
Disconnect the batteries and relieve fuel-system pressure using the approved procedure. Never loosen high-pressure fuel lines with the engine running or while rail pressure may still be present. Diesel fuel injected through skin is a medical emergency. Use proper eye protection, gloves, and the engine manufacturer’s safety procedures.
Before removal, label electrical connectors and inspect the injector harness for rubbed insulation, loose terminals, oil intrusion, or damaged connector locks. A wiring problem can imitate an injector failure, and it is far easier to find before everything is reassembled.
If an injector is carbon-packed into the cylinder head, use the correct puller rather than prying against the valve cover rail or cylinder head. Excessive force can damage the injector bore, hold-down location, or the injector itself. On some engines, a stuck injector requires additional disassembly or specialized extraction equipment. That is a job to approach carefully, not force through.
Diesel Injector Replacement Guide: Installation Steps That Matter
Once the old injector is out, inspect the bore, seat, connector, and fuel passages. Remove carbon from the injector seat using the approved cleaning method. Do not let debris fall into the cylinder or fuel system. A damaged or dirty seat can prevent the new sealing washer from seating correctly, leading to combustion blow-by and a repeat repair.
Install the new seal in the correct orientation. Lubricate O-rings only with the product or clean fuel specified by the manufacturer. Avoid shop rags that shed fibers, and never apply generic sealant to precision fuel-system fittings unless the service procedure specifically calls for it.
Seat the injector squarely, install the hold-down hardware, and tighten it in the required sequence and specification. Install high-pressure lines without cross-threading. Keep line routing natural and free of side load. If the manufacturer calls for new lines, install new lines.
Reconnect return fittings, electrical connections, intake components, valve covers, and any removed brackets. Before reinstalling covers, make a final visual inspection for missing seals, pinched wiring, loose tools, and open ports. This minute of inspection can prevent hours of follow-up work.
Enter Injector Codes When Required
Many modern diesel injectors have a trim code, calibration code, or compensation code printed on the injector body. The engine control module uses this information to fine-tune fueling for that specific injector. If the engine requires coding, enter each code in the correct cylinder location with a capable scan tool before final operation.
Skipping injector programming can cause rough idle, imbalance codes, smoke, reduced performance, excessive noise, and poor fuel economy. Do not guess at cylinder order. Verify the engine’s cylinder numbering and record the installed code for the service file.
Some older mechanical systems and certain applications do not require electronic coding. That is why the correct procedure always depends on the engine, not a generic assumption.
Prime, Start, and Verify the Repair
Prime the low-pressure system according to the factory procedure. Some trucks use an electric lift pump, while others require a manual priming method or scan-tool command. Crank only as directed. Long, repeated crank attempts can drain batteries, overheat starters, and make a simple priming issue look like a deeper problem.
After startup, let the engine idle while you inspect for fuel leaks, combustion leakage around the injector base, abnormal noise, and warning lights. Check live data for rail pressure and cylinder balance where available. Clear applicable codes, then complete a road test or loaded operational test once the engine reaches normal temperature.
After the test, inspect again. Look closely at high-pressure line connections, return fittings, injector hold-down areas, and the fuel filter housing. If the original complaint involved contamination, document the complete repair and confirm that every required system component was addressed.
Handle the Core Correctly
If you purchased remanufactured injectors, the removed injectors may carry a refundable core charge. Drain excess fuel as required, protect the electrical connector and nozzle, and package the cores in the supplied materials or equivalent secure packaging. Do not send loose injectors in a box where the nozzles can be damaged.
A rebuildable core return helps control the cost of future diesel repairs, but core acceptance depends on condition and application. Severe physical damage, missing major components, incorrect cores, or contamination can affect credit. Keep the original packaging until the core return is complete.
The best injector repair is the one that restores clean combustion, stable rail pressure, and dependable pulling power without creating a second fuel-system failure. Verify the diagnosis, use the exact injector for the engine, protect the system from contamination, and follow the coding and installation procedure to the letter. Leave diesel to the professionals who respect the details.
